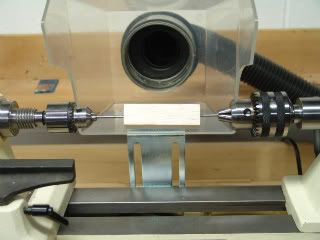
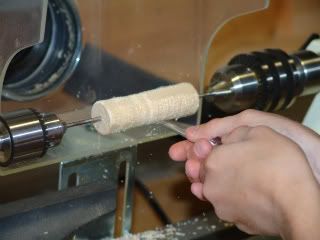
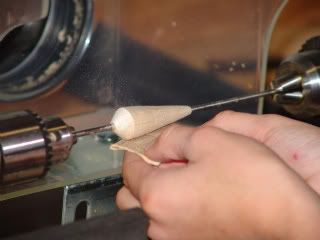
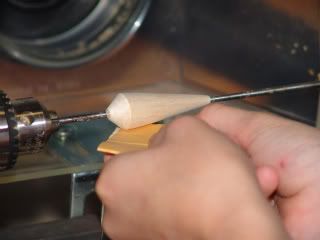
First, I work with 4"x4"x36" blocks of balsa. I cut them down to 1"x1"x36", then I cut them down to the length I am going to make my floats. I use 1/8 inch drill rod for my mandrel. I just push the mandrel thru the center of the Balsa because it is a very soft wood. Next I chuck it up in my lathe and start turning it down. I use nothing more than a screw driver that I ground down on a grinding wheel to a very sharp point.
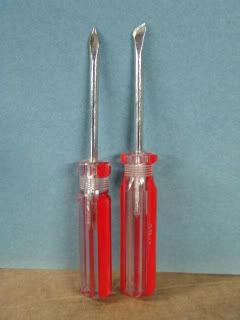
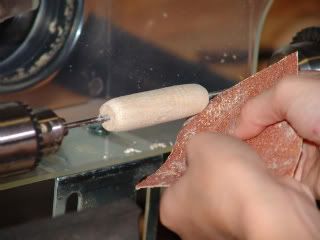
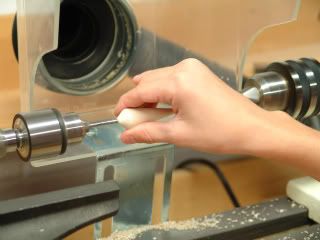
Once I knock off the edges, I put down the screw driver and use sandpaper from here on out. I start with 80 grit sandpaper to quickly get it to form. Then I use 150 grit to smooth it up a bit. Finally, I use 320 grit to get a real smooth finish. Before I turn off the lathe and unchuck it, I check it to make sure it is smooth and does not feel out of round. If it is ok, I turn off the lathe and unchuck it, carefully removing the balsa float from the mandrel so you don't damage the float.
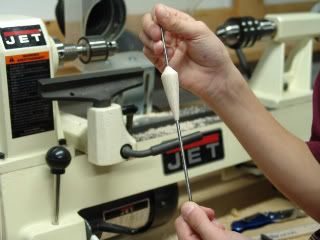
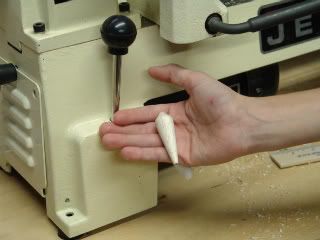
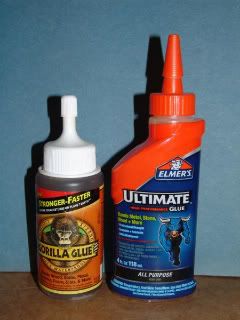
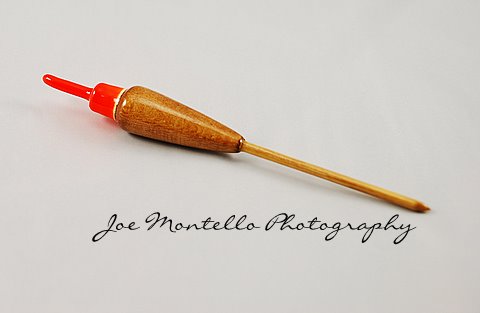
At this point your float is all turned down and is ready to be glued up. You can use either a Bamboo stem, Stainless Steel stem, or Carbon Fiber. The two glue's I use and have had no problems with are Gorilla Glue and Elmers Ultimate. Both are 100 % waterproof.
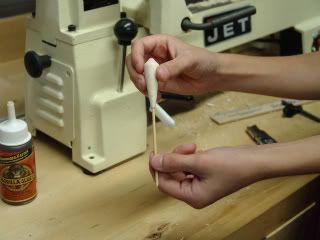
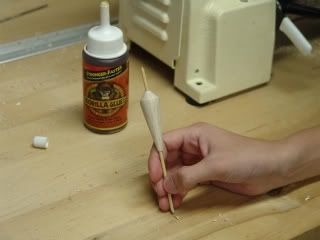
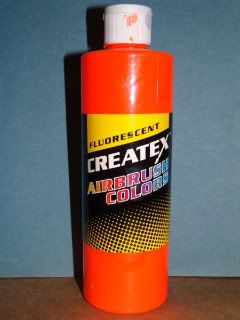
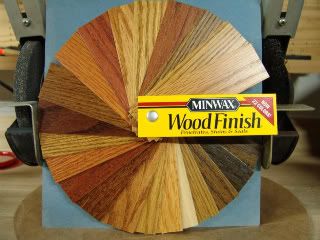
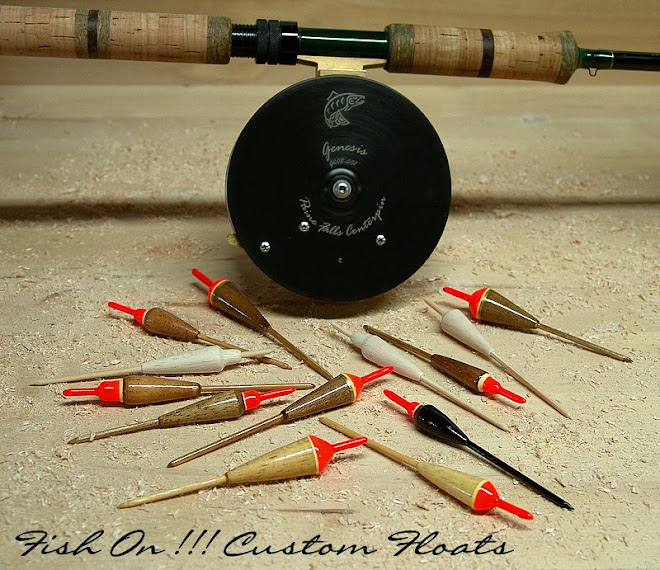
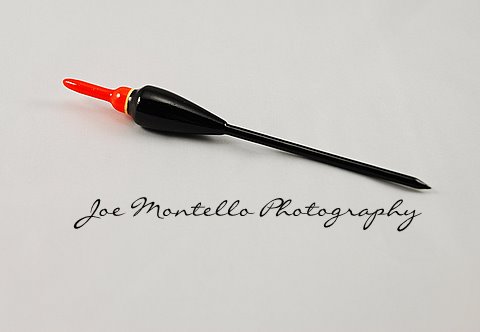
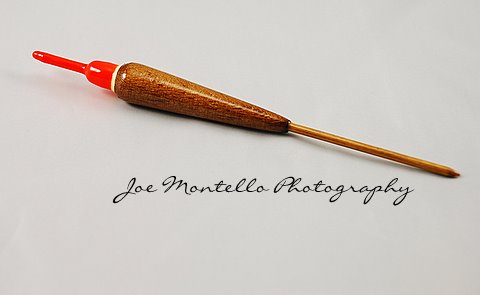
Once the glue has dried, it is time to apply the stain. I use Minwax and have never had a problem. Once it is dry, I hand dip the top of the float in white primer and let it dry to the touch . The white primer will really help your Hot orange or what ever color you select to go with really stand out. Now it is time to hand dip the float in your paint. I use Createx Paint ( GREAT PAINT ) !!!!
I created a drying box so I had a place to hang my floats upside down while they dry. Putting a fan on your floats between each step will really cut down on the drying time.
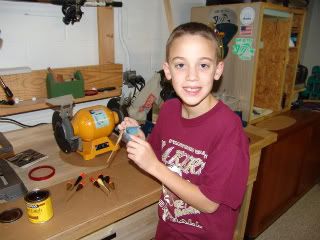
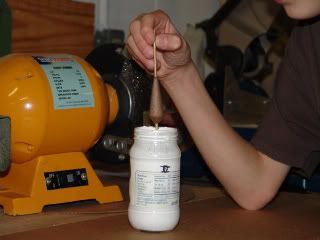
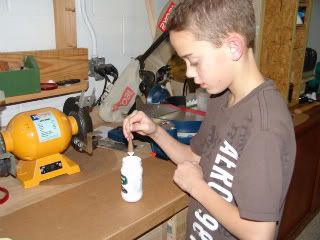
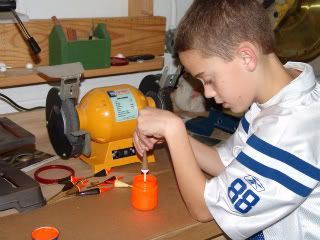
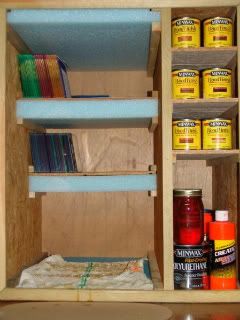
Once the paint is dry, it is time to clear coat them. I use Minwax Helmsman Spar Urathane or Minwax Fast Drying Polyurethane. Both are very good!
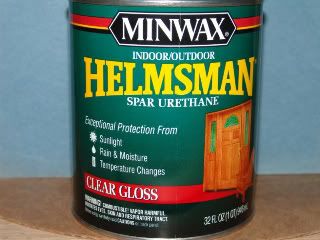
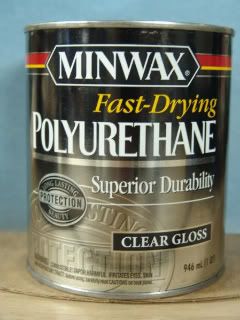
I apply 3 coats of Urathane and sand between each coat to get a very smooth finish.
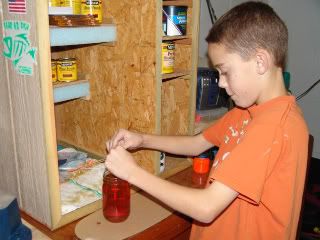
Let floats hang and drip until they are fully dry before appling the next coat.
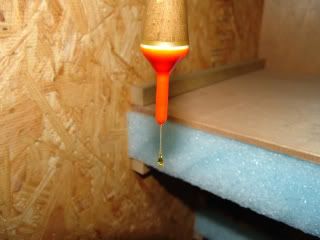
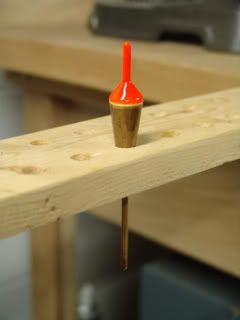
At this point, the float is almost done! Your last step is to dip the bottom of the float (to seal the bamboo) in Minwax Urathane. After you have dipped the float put it in a vertical holder to let it drip dry.
Minwax really has some great looking stains or you can have your local paint shop custom tint the stain for you.
Some of the common questions I get asked are: What lathe should I buy and where should I get it ? I got my Jet Mini Lathe thru Amazon.com. The only reason I bought a Jet was because it was on sale for under $ 200.00 and it came with free super saver shipping ( that was worth its weight in gold ) because it weighs 80#. If I had to do it today, I would probably not get a Jet due to the cost. I think they are close to $400.00 now. Today, I would probably got with a Penn State Industries Turncrafter Pro.
http://www.pennstateind.com/store/TCLPRO.html
I have done business with PSI and have had no problems with them. They have very good customer service and fast shipping.
One other Item I would recommend is the dust collection system. Your lungs will love you for it and so will your wife!! Balsa dust is very fine and messy! If you are turning in the house, it will keep the dust from traveling everywhere. Before I bought the dust system, I had the fine Balsa particles all over everything around my turning bench.
http://www.pennstateind.com/store/DLHOODC2.html
As you can see, the dust collection system has a 5 star rating, believe me its well worth it!!
The live tail stock I also purchased at PSI.
http://www.pennstateind.com/store/LDC2MT.html
I hope this helps! This is how I (started out) making floats. There are tips and tricks that you will learn along the way, through trial and error, that will really help you produce great looking floats!! Happy turning!! I would like to thank my son Michael, a.k.a Meatball, for helping me with this project. He enjoys making floats and cannot wait to use it on the river!!
If you have any other questions or need help on how to do certian steps please email me at FishOnFloats@gmail.com
Hope this tutorial helped you out










2 comments:
Nice instructions! Too bad I don't fish...
How do you attach the fishing line to the float?
Post a Comment